Divide the dough into 3–4 small bowls, depending on how many colors you want. Add 1–2 drops of food coloring to each bowl (think soft pastel shades) and gently mix until the color is evenly distributed. Add more color a drop at a time if you want it slightly deeper, but keep it pastel for that pretty, fancy look.
Pinch off small pieces of the tinted dough, about 1 teaspoon each, and roll them between your palms into smooth little balls. Place the balls on the prepared parchment-lined tray, spacing them just a bit apart.
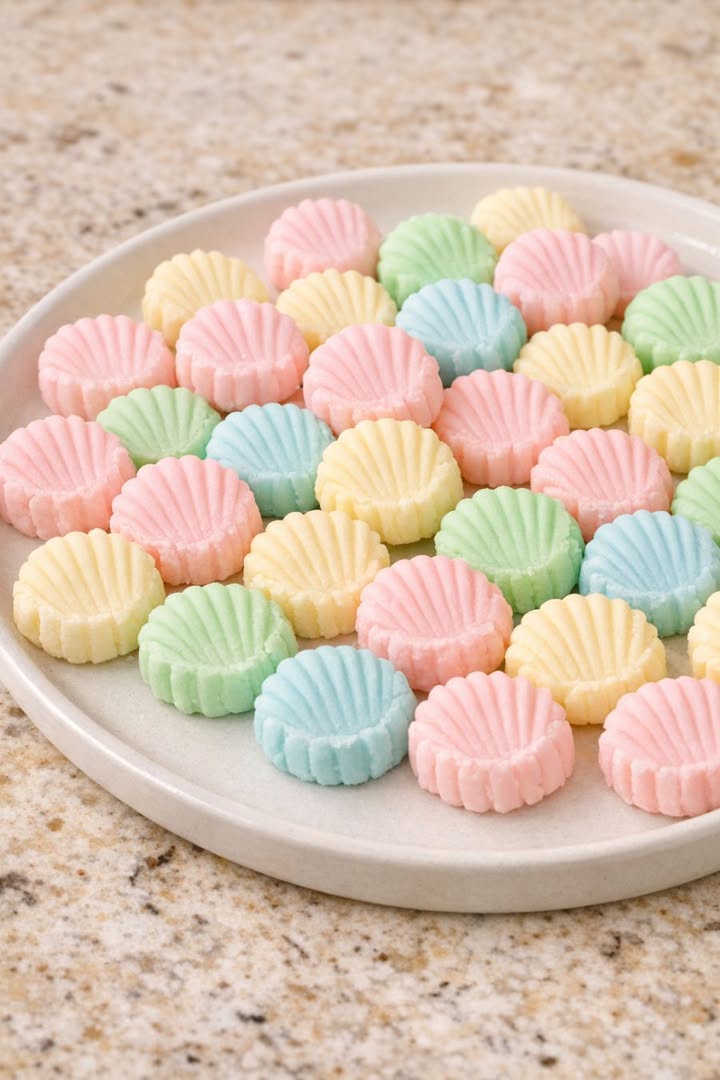
To give the mints a simple, “I totally bought these from a fancy candy shop” look, press each ball gently with the tines of a fork, the bottom of a glass, or your fingertip to flatten slightly. They should be about 1/4 inch thick with a smooth, matte surface.
Let the mints sit at room temperature, uncovered, for 2–4 hours, or until the outside feels dry and slightly firm to the touch. For a more set, melt-in-your-mouth texture, you can also refrigerate them for at least 1 hour after they’ve dried a bit on the counter.
Once the mints are firm enough to handle, transfer them to a round ceramic serving tray or airtight container. If stacking, place a sheet of parchment or wax paper between layers so they don’t stick together.
Serve chilled or at cool room temperature. Store leftovers in an airtight container in the refrigerator for up to 1 week, or freeze for up to 1 month. Let frozen mints sit at room temperature for 10–15 minutes before serving so they soften slightly.
Variations & Tips