
Gardening enthusiasts and professional horticulturists alike are always on the lookout for methods to improve plant growth and development. One of the critical stages in a plant’s life cycle is germination, where a seed begins to grow into a new plant. Speeding up this process can be beneficial for various reasons, including extending the growing season, allowing for multiple harvests, or simply accelerating the time to enjoy the fruits or flowers of one’s labor.
One effective method to boost germination rates and speed is seed soaking. Soaking seeds before planting has been practiced for centuries, but modern techniques have refined this art into a science. This article explores 13 seed soaking tricks that can significantly reduce germination time, offering insights into why and how each method works.
1. Why Soaking Seeds Can Cut Germination Time in Half
Soaking seeds is a simple yet powerful method that can drastically reduce the time it takes for seeds to germinate. The process involves hydrating the seed, which activates metabolic processes that kickstart germination. When a seed absorbs water, it swells, breaking open the seed coat and allowing the embryo inside to begin growing. This imbibition phase is crucial because it rehydrates the dormant seed, waking it up from its dormancy.
Studies have shown that soaking seeds can cut germination time by up to 50% in many species. For instance, bean seeds that typically take 7-10 days to germinate can sprout in as little as 3-5 days when soaked. This time reduction can be attributed to the fact that soaking bypasses the slow natural process of water absorption through dry soil, allowing seeds to access water more rapidly and uniformly.
2. Using Warm (Not Hot) Water To Wake Seeds Faster
The temperature of the water used for soaking seeds is critical to achieving optimal germination speeds. Warm water, typically around 70-80°F (21-27°C), is ideal because it mimics the natural conditions seeds might encounter in spring. This temperature range helps to increase the rate of water absorption and activates enzymes that facilitate germination.
It’s important to avoid using hot water, as temperatures above 100°F (38°C) can damage the seed, denaturing the proteins and enzymes necessary for growth. By using warm water, gardeners can ensure seeds are hydrated efficiently without the risk of heat damage, thus promoting quicker germination.
3. The 12–24 Hour Sweet Spot: How Long To Soak Different Seeds
The duration for which seeds should be soaked varies depending on the type of seed. Most seeds benefit from a soaking period of 12 to 24 hours, which is sufficient to hydrate them without risking rot. For instance, larger seeds such as peas and beans often require the full 24 hours to absorb enough water due to their size and thicker seed coats.
Conversely, smaller seeds or those with thinner coats, such as lettuce or radish, may only need 12 hours of soaking. It’s crucial to avoid soaking seeds for too long, as over-soaking can lead to oxygen deprivation and seed rot. Monitoring the seeds and ensuring they are plump and fully hydrated is key to achieving the best results.
4. Pre-Chilling Tough Seeds: The Cold-Then-Soak Combo
Some seeds, especially those from temperate climates, require a period of cold stratification before they will germinate. This mimics the natural winter dormancy that seeds would experience in the wild. Pre-chilling seeds before soaking can be particularly effective for species like lavender and certain perennials.
To pre-chill seeds, place them in a refrigerator at temperatures of 35-41°F (2-5°C) for a period of 1-4 weeks. After this cold period, soaking the seeds in warm water can help to break dormancy and expedite germination. This combination of cold stratification followed by soaking can significantly enhance germination rates for tough seeds.
5. Scarifying Hard Seed Coats for Supercharged Soaks
Seeds with hard, impermeable coats, such as morning glories or sweet peas, may require scarification to improve water absorption. Scarification involves physically breaking or weakening the seed coat, allowing water to penetrate more easily.
This can be achieved by gently rubbing the seeds with sandpaper, nicking them with a knife, or using a file. Once scarified, soaking these seeds will lead to quicker and more uniform germination, as the water can directly reach the seed embryo.
6. Adding a Pinch of Hydrogen Peroxide To Boost Oxygen and Sterilize
Hydrogen peroxide is a versatile agent that can both sterilize seeds and improve oxygen availability during soaking. By adding a small amount, usually a 3% solution at a ratio of 1 teaspoon per cup of water, gardeners can reduce the risk of fungal infections and enhance seed respiration.
The oxygen released by the breakdown of hydrogen peroxide can stimulate faster germination by improving cellular respiration processes in the seed. This method is particularly beneficial for seeds prone to damping-off, a common fungal disease that affects seedlings.
7. Epsom Salt Soaks To Prime Seeds With Magnesium
Epsom salt, chemically known as magnesium sulfate, can be used in seed soaking solutions to provide essential nutrients that aid in germination and early seedling growth. Magnesium is a crucial component of chlorophyll, the molecule responsible for photosynthesis.
By dissolving a small amount of Epsom salt, approximately 1 tablespoon per gallon of water, into the soaking solution, seeds can absorb this mineral, potentially leading to more vigorous growth. This is particularly beneficial for seeds of plants that are heavy magnesium feeders, such as tomatoes and peppers.
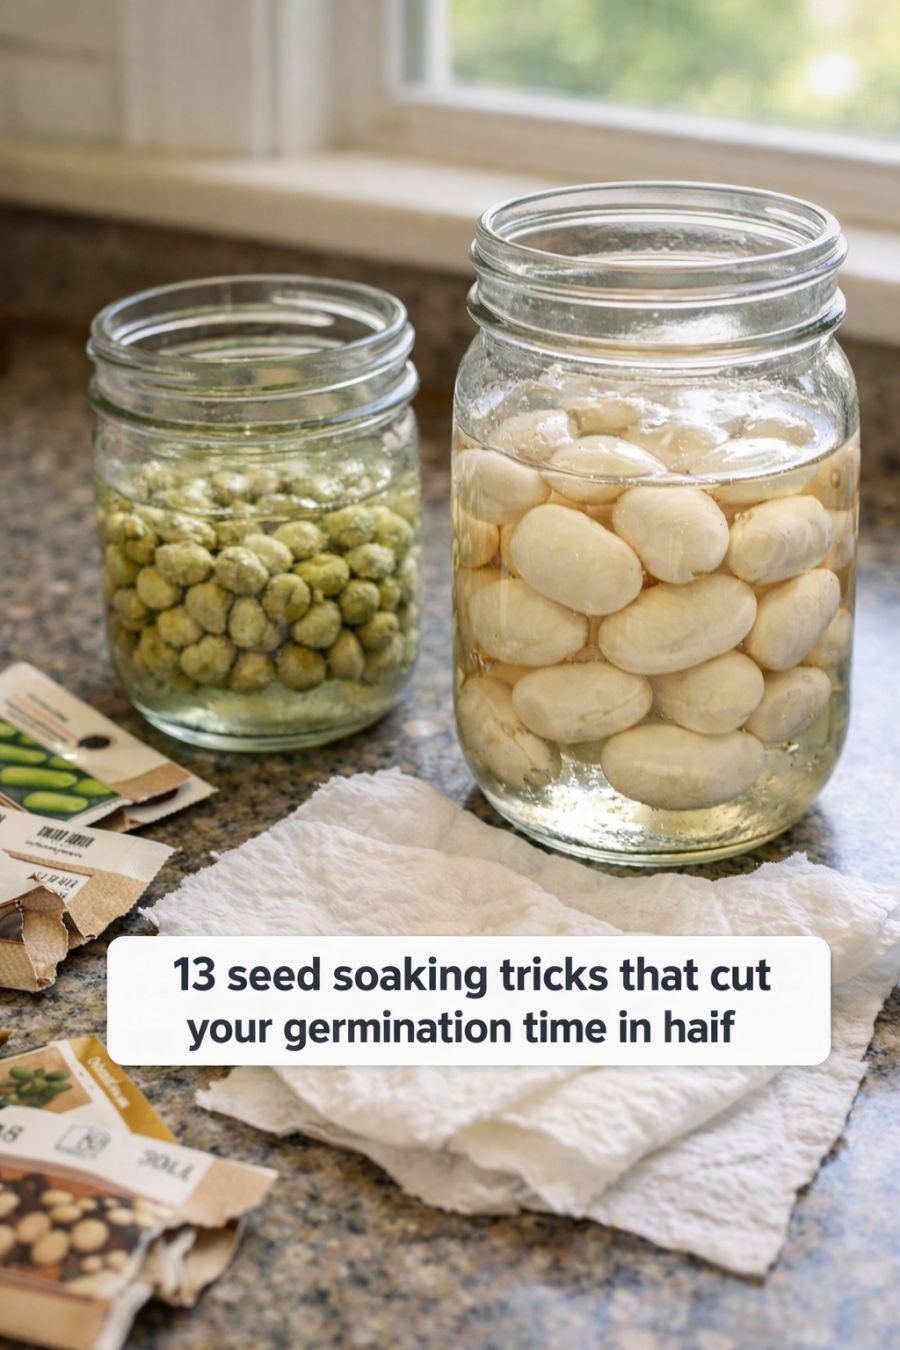
13 seed soaking tricks that cut your germination time in half
Pages: 1 2
