
4. The No-Damage Way To Lift A Mature Hosta
To lift a mature hosta without causing damage, use a garden fork or spade to gently loosen the soil around the perimeter of the plant. Insert the tool at least 6 inches away from the crown to avoid slicing into the roots. Work your way around the plant, gently prying it up from the soil. Taking your time with this step is crucial to preserving the integrity of the root system.
Once the soil is loose, carefully lift the clump from the ground, supporting it with both hands. Avoid pulling the plant by its shoots or leaves, as this can cause breakage. Instead, focus on lifting from the base to keep the plant intact. Once lifted, gently shake off excess soil to expose the roots and crowns, preparing the plant for division.
5. How To Slice And Separate Crowns Without Shock
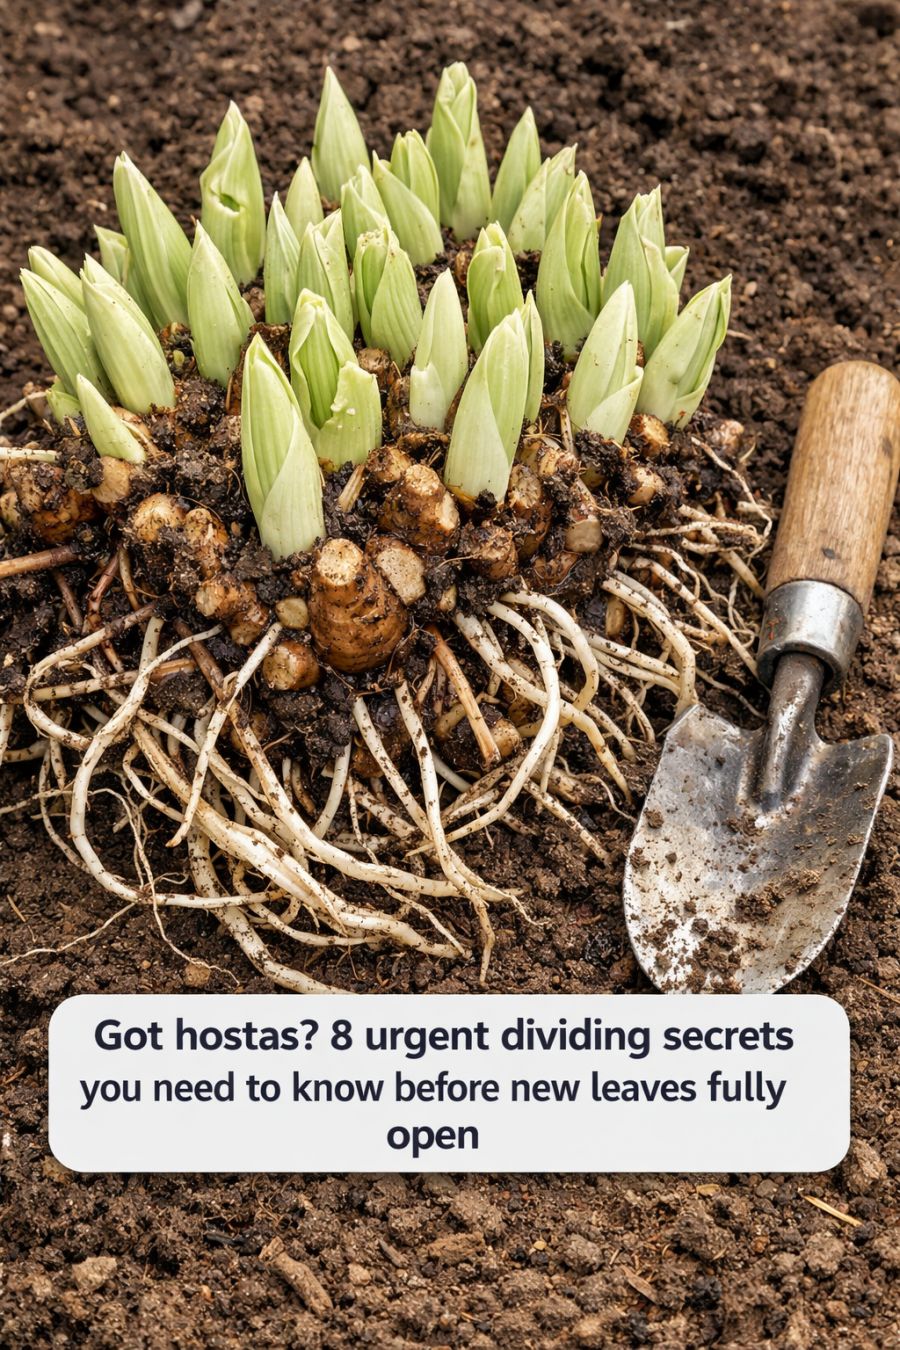
To divide the hosta, first identify the natural divisions within the clump. These are usually marked by distinct growing points, or ‘eyes,’ which will become new plants. Using a sharp knife or garden saw, make clean cuts between these eyes, ensuring each division has a healthy portion of roots and at least one or two eyes.
Be mindful of your cuts, as jagged or torn roots can lead to increased stress and a slower recovery. If the root mass is particularly dense, you may need to gently tease the roots apart with your hands to avoid excessive cutting. Once divided, rinse the roots with water to remove any remaining soil, which also helps in assessing the health of the roots.
6. The Critical Root Trimming Trick Gardeners Skip
One often overlooked step in dividing hostas is the trimming of the roots. After dividing the clumps, examine the root systems and trim any excessively long or damaged roots. Cutting back the roots by about a third encourages new root growth and helps the plant establish more quickly in its new location.
This step is particularly important for larger divisions, as it reduces the stress on the plant and balances the root mass with the top growth. Use sharp scissors or pruners for clean cuts, and avoid trimming too close to the crown. Proper root trimming can make a significant difference in the plant’s ability to absorb water and nutrients post-transplant.
7. Replanting Depth, Spacing, And Direction For Bigger Clumps
When replanting your divided hostas, pay attention to the depth and spacing to ensure optimal growth. Plant each division at the same depth it was growing before, with the crown just at the soil surface. This helps prevent crown rot and encourages healthy shoot development.
Space the divisions at least 1 to 3 feet apart, depending on the mature size of the variety, to allow room for future growth. Consider the direction of the eyes when planting, as this will determine the spread and fullness of the clump. By planning the orientation, you can create a more aesthetically pleasing and balanced display in your garden.
8. Watering, Mulching, And Aftercare To Prevent Setback
After replanting, water the hostas thoroughly to help settle the soil and eliminate air pockets around the roots. Consistent moisture is crucial during the first few weeks, as it aids in root establishment and reduces transplant shock. Ensure the soil remains evenly moist but not waterlogged.
Apply a layer of organic mulch around the base of the plants to conserve moisture, suppress weeds, and moderate soil temperature. A 2 to 3-inch layer of mulch is typically sufficient. Continue to monitor the plants for signs of stress, such as wilting or yellowing leaves, and adjust care as needed. With proper aftercare, your divided hostas will recover quickly, rewarding you with lush growth and vibrant foliage throughout the season.
