
Growing new plants from root cuttings feels like a gardening “cheat code”: one healthy parent plant can give you many new plants with very little cost. And you don’t need synthetic rooting powders to get great results. With the right timing, clean cuts, and a few gentle homemade helpers, root cuttings can wake up, callus, and push out fresh growth surprisingly well.
What Are Root Cuttings (And When Do They Work Best)?
A root cutting is a section of root taken from a parent plant and replanted so it can produce a new plant. This method works best for plants that naturally form shoots from their roots or store energy underground.
Root cuttings are most successful when:
The parent plant is healthy and well-established
You take cuttings during dormancy or slow growth (often late fall through early spring, depending on climate)
The cuttings stay moist but not soggy
You avoid rot and fungus while the cutting is still vulnerable
Why Choose Natural, Homemade Rooting Helpers?
Homemade rooting helpers won’t magically replace good technique, but they can support the process in practical ways.
Natural options are useful because they can:
Lower the risk of infection at the cut surface
Provide a mildly supportive environment for callusing and early rooting
Be cheap, available, and gentle (less chance of “overdoing it”)
Think of them as a small advantage, not a requirement. The real success comes from clean cuts + correct orientation + proper moisture + patience.
Step 1: How to Take Root Cuttings the Right Way
1) Pick the right roots
Choose roots that are:
Firm, pale/tan, and healthy-looking
About the thickness of a pencil (or slightly thinner/thicker depending on the plant)
Free of mushy spots, black rot, or strong sour smells
2) Make clean, deliberate cuts
Use clean scissors or a knife.
Best cutting size:
5–10 cm (2–4 inches) for most plants
For thicker roots, you can go a little longer
3) Mark the “top” end
This prevents planting upside-down (a very common reason for failure).
Easy method:
Make the top end a straight cut
Make the bottom end a slanted cut
So later you instantly know which end goes up.
4) Keep them from drying out
Root pieces dry fast.
Place cuttings in:
A damp paper towel inside a bag, or
A container with slightly damp peat/coco coir
Keep them cool while you prepare your pots.
Step 2: Use the Right Soil Mix (This Matters More Than Any “Rooting Hormone”)
Root cuttings hate heavy, waterlogged soil.
A simple rooting mix:
50% coco coir or peat
50% perlite or coarse sand
You want a mix that holds gentle moisture but still has air pockets. Roots need oxygen.
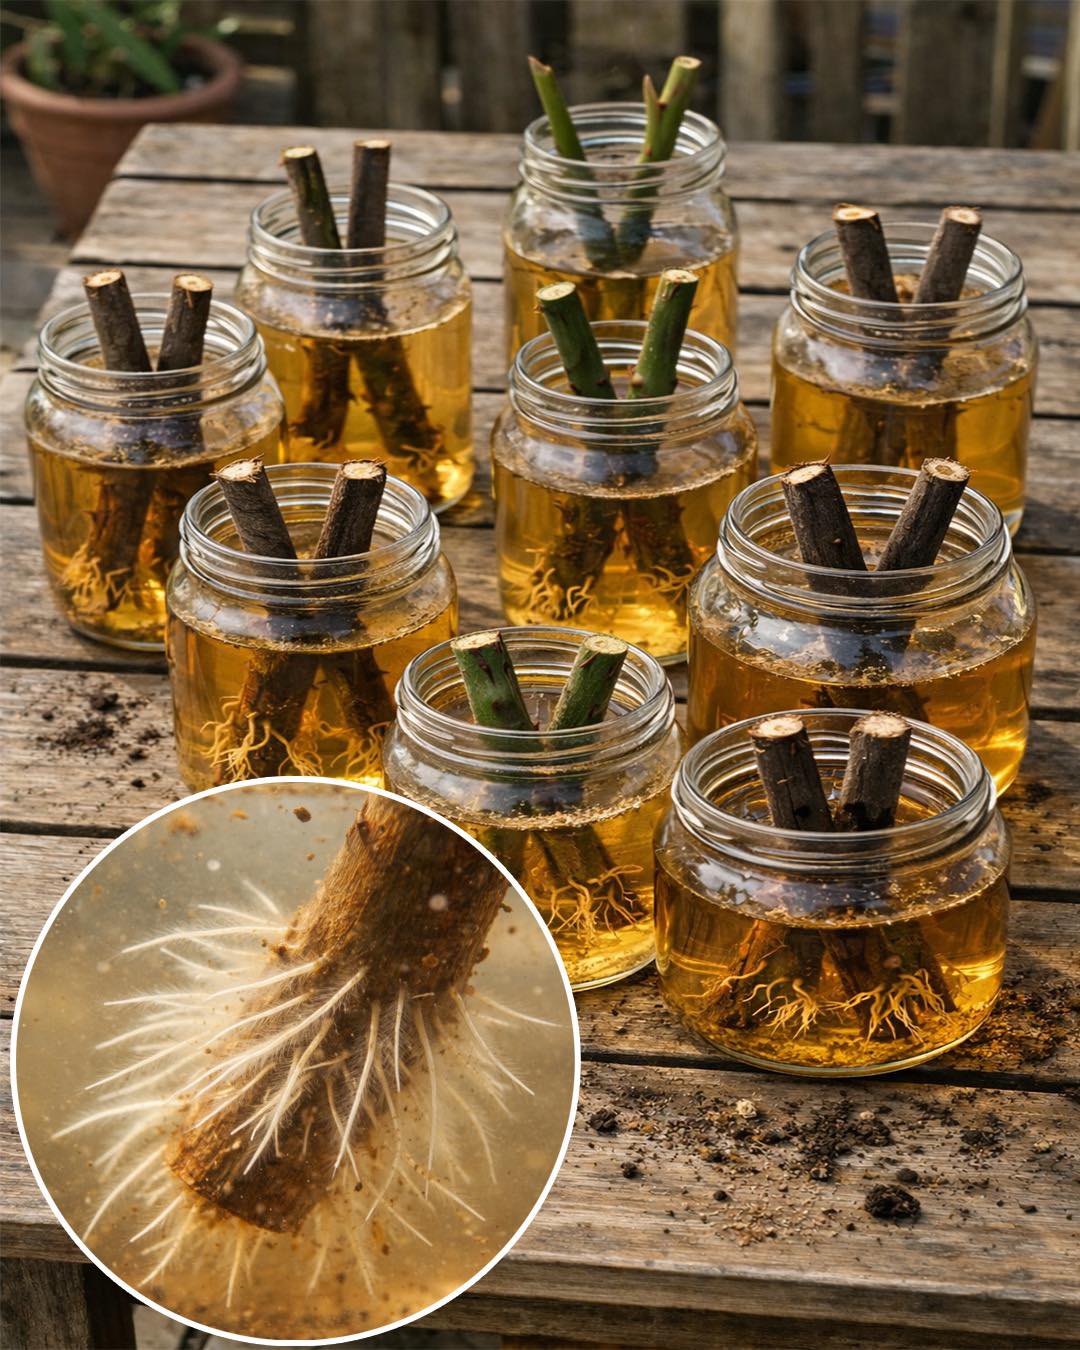
root cuttings natural propagation method
Step 3: Planting Root Cuttings (Orientation + Depth)
Option A: Vertical planting (easy for beginners)
Push the cutting into the mix so the top end is just below the surface
Leave about 1 cm (½ inch) of mix above the top end
Option B: Horizontal planting (good for thin roots)
Lay the cutting flat
Cover with 1–2 cm (½–¾ inch) of mix
After planting:
